Native Teams' wallet offers multiple ways to receive funds — topping up your wallet directly, or invoicing a client so they pay you.
Adding money to your wallet:
Go to the wallet section on the Native Teams platform and click on the 'Add' option in your wallet.
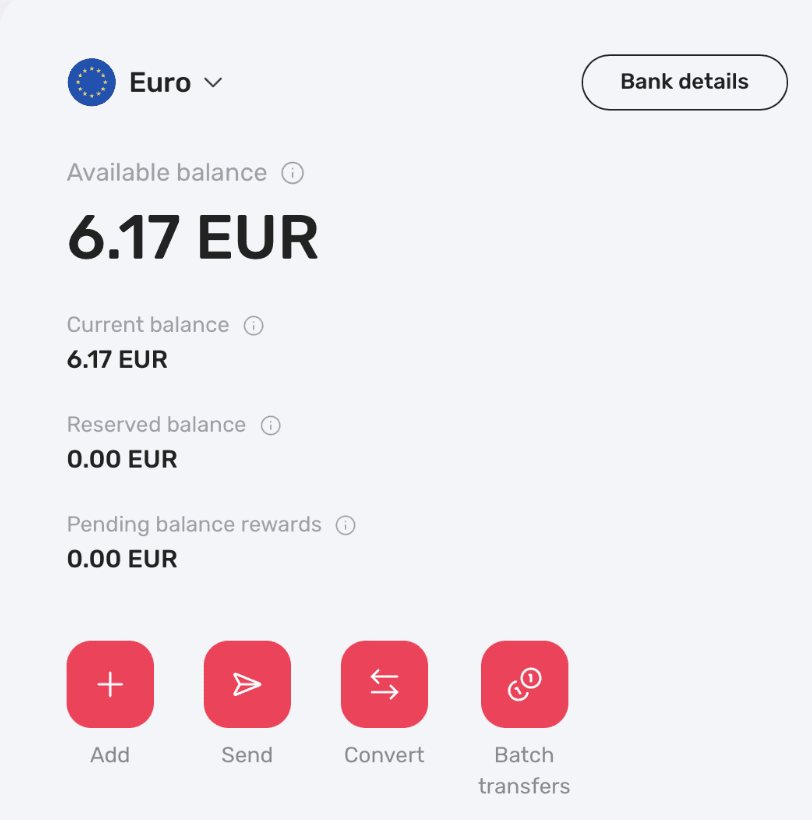
Your wallet overview — click 'Add' to top up.
Add the top-up amount and click 'Next'.
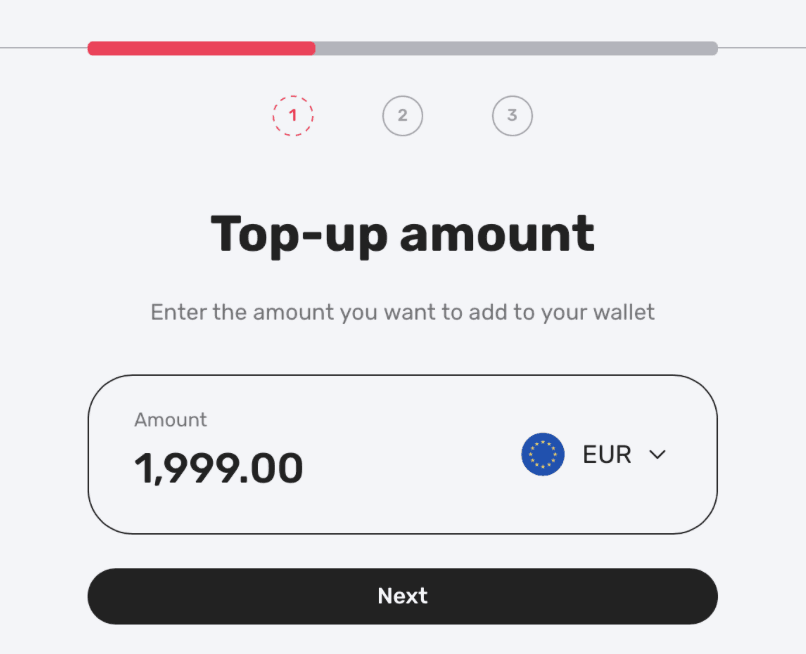
Enter the amount you want to add, in the currency of your choice.
Choose the top-up method — either Credit or Debit card, or Bank transfer.
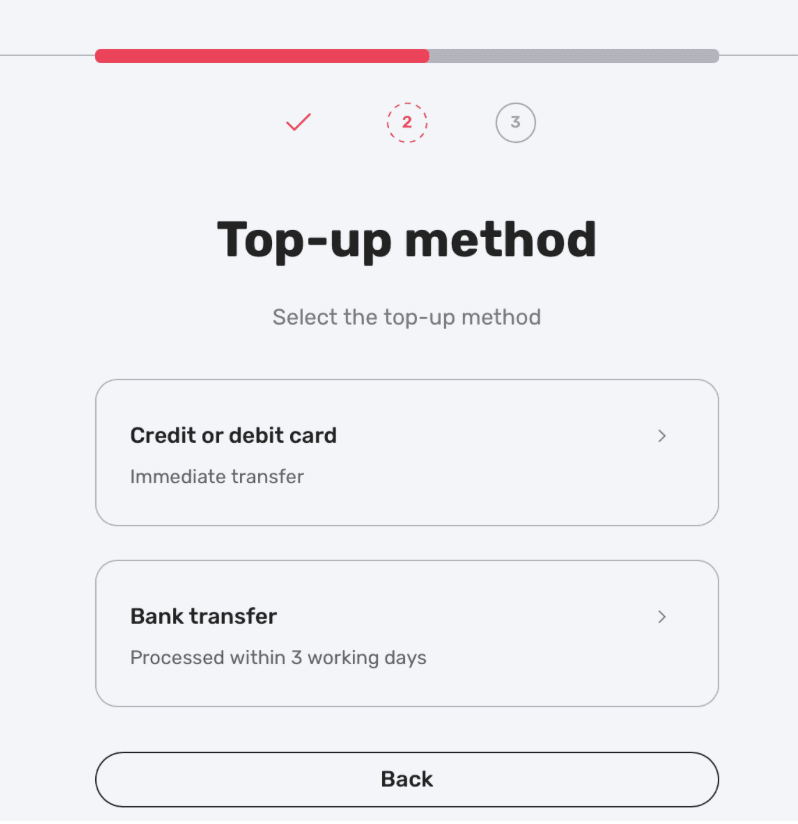
Credit/debit card transfers are immediate; bank transfers are processed within 3 working days.
- If you choose Credit or Debit card, you can either select a card you've used before, or add a new one and fill in your card details.
- If you choose Bank Transfer, fill in your bank details, then enter a reason for the top-up and submit it.
Your request is then submitted successfully — for bank transfers, funds are credited to your wallet once we receive your transfer, which may take up to 3 working days depending on your bank's processing time.
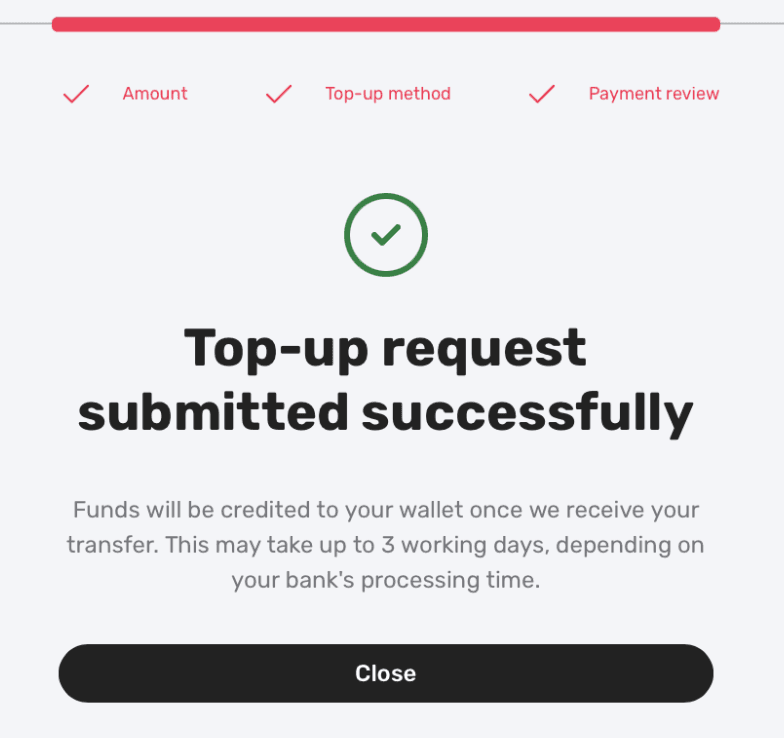
Confirmation screen once your top-up request has been submitted.
Invoices — billing a client to receive payment:
Access the 'Client Invoicing' feature from the main menu of your account and click 'Create Invoice'.
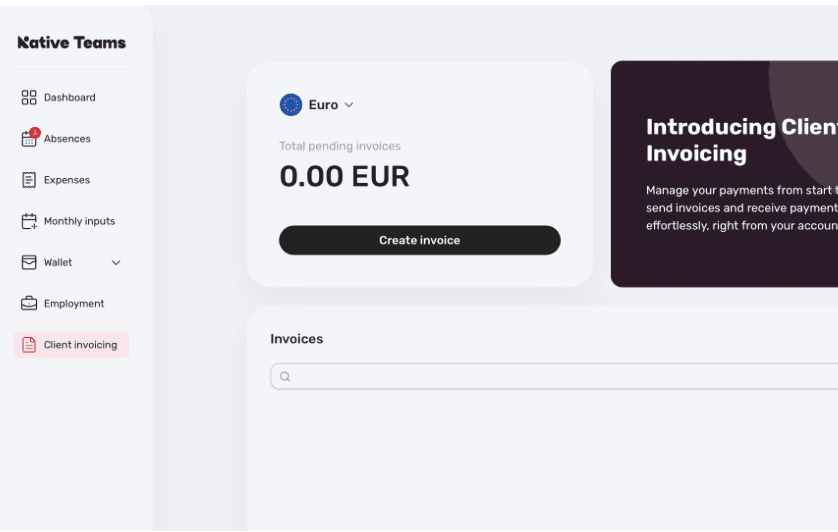
The Client Invoicing dashboard, accessible from the main menu.
Either choose a recipient from your saved list, or add a new one.
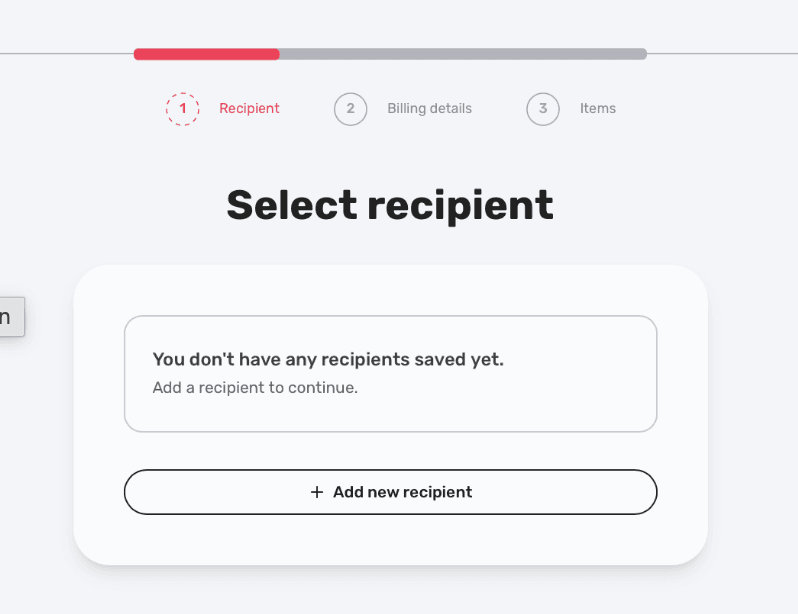
Select an existing recipient or add a new one.
If adding a new recipient, fill out all required information and click 'Save Changes'.
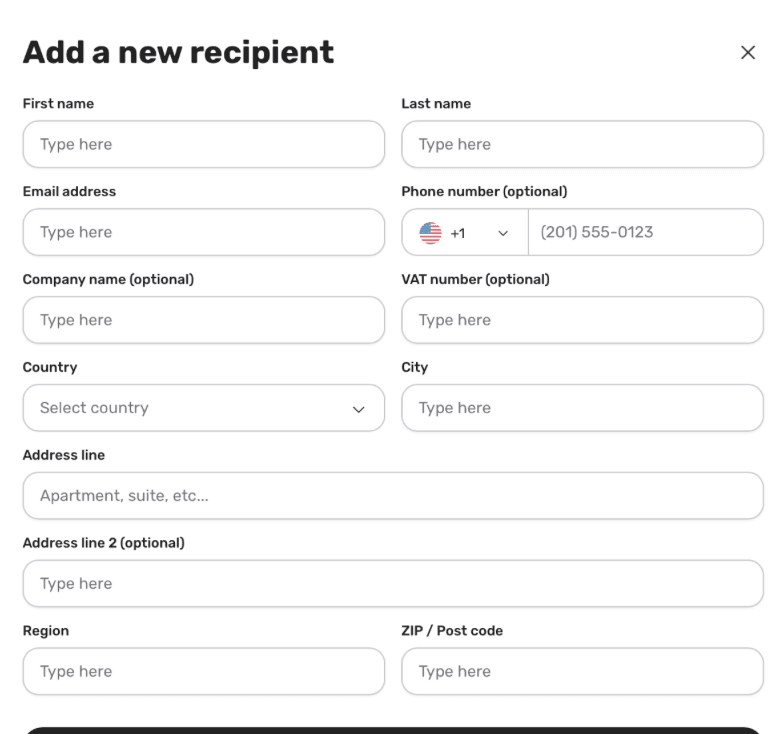
Fill in the recipient's name, contact details, and address.
Set the currency and payment dates (issue date and due date), then click 'Next'.
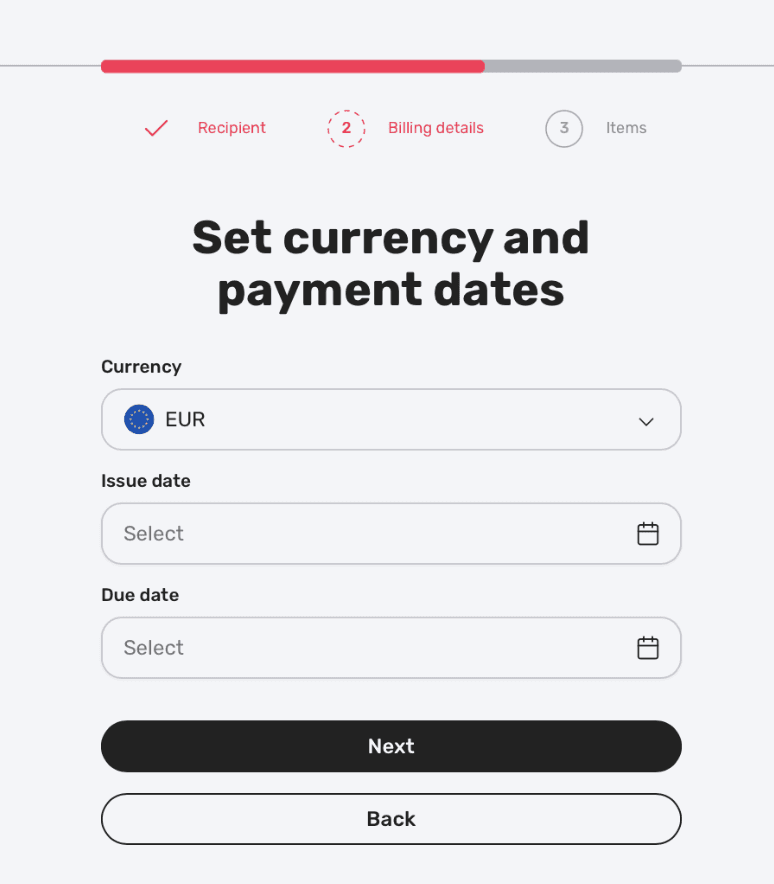
Choose your invoice currency and set the issue/due dates.
Add items to your invoice — each item you add is included in the total amount.
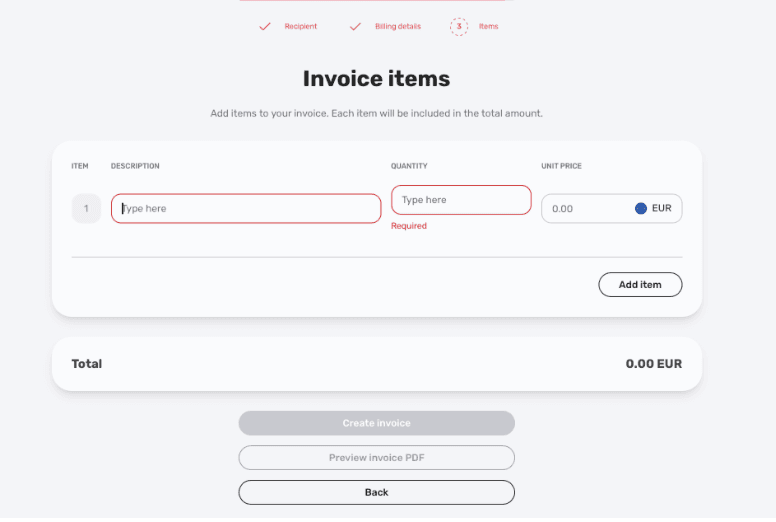
Add one or more line items; the total updates automatically.
6. Review everything, then click 'Create Invoice'. You also have the option to preview the invoice as a PDF before sending it.



